Using AI to Create Seamless Textures for 3D Game Development
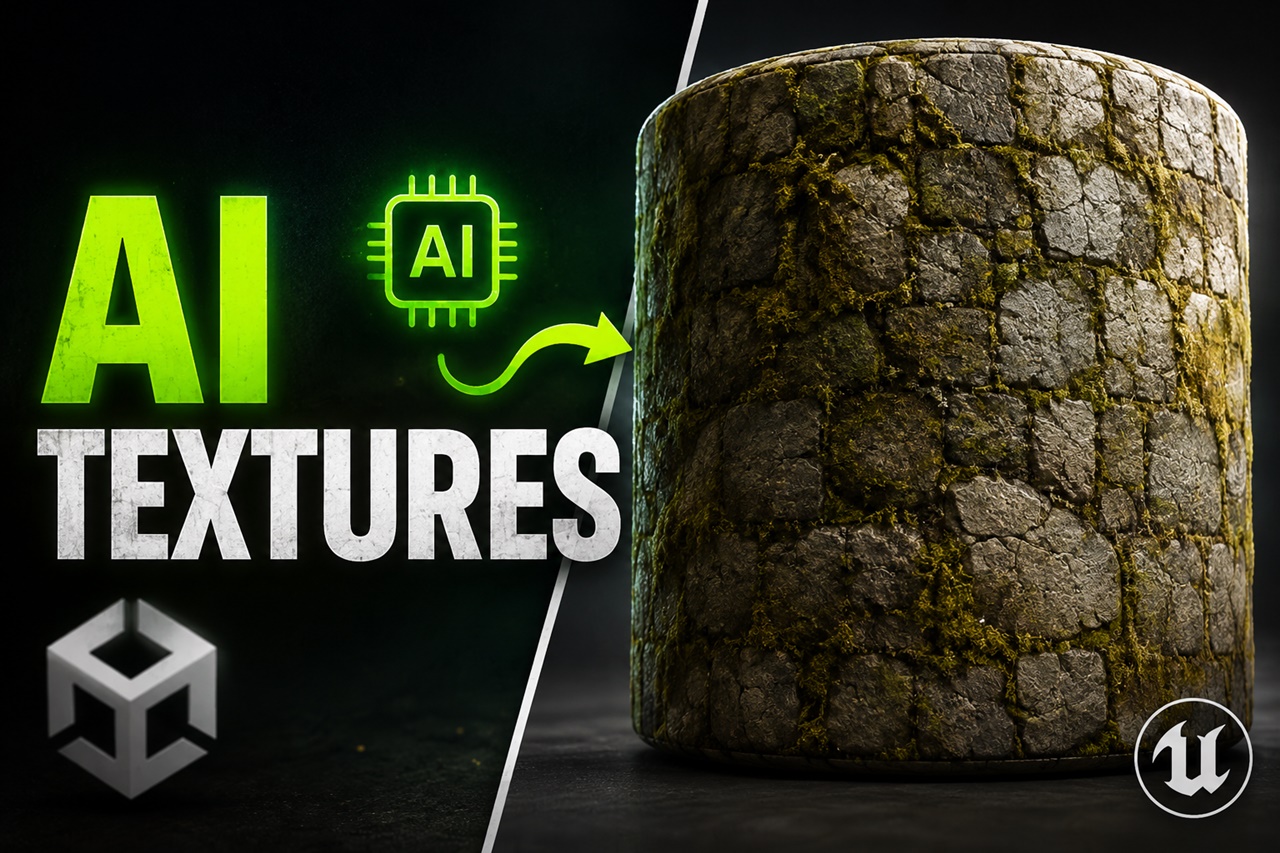
Every game environment is built on repetition. That cobblestone path, the mossy stone wall, the sci-fi metal floor panel your character runs across for twenty minutes, none of it is one giant image. It's a small texture, tiled hundreds of times, doing all the heavy lifting for the scene's atmosphere.
For years, making that small texture actually tile without visible seams was one of the more tedious, technical corners of game art, the kind of task that ate hours in Substance Designer or Photoshop before an artist could move on to the fun stuff. AI has quietly rewritten that workflow. Today, you can describe a surface in plain language and get a production-ready, tileable PBR material in under a minute. In this guide, we'll break down what "seamless" actually means technically, how AI texture generators pull it off, and how you can start using them in your own pipeline even if you've never touched a texturing tool before.
What "Seamless" Actually Means (and Why It's Hard)
A seamless texture is one where the left edge lines up perfectly with the right edge, and the top edge lines up perfectly with the bottom edge. When you tile it across a floor or wall, your eye shouldn't be able to tell where one copy ends and the next begins.
This sounds simple, but it's a genuinely tricky problem for image generation, because most AI models are trained to produce a single, self-contained image, not one that needs to wrap around and continue itself at the edges. A regular AI-generated image of "cracked concrete" will have cracks that just stop dead at the border. Tile that four times, and you get an obvious grid pattern, sometimes called the checkerboard effect, the exact thing seamless texturing is supposed to avoid.
Real seamless texture generation needs the model to understand the pattern's structure well enough to continue it mathematically across the edge boundary, not just blur the border and hope nobody notices. That distinction matters a lot when you're picking a tool, because plenty of "seamless" generators are really just edge-blending filters in disguise. They look fine in a preview thumbnail and fall apart the moment you tile them 3×3 or larger.
Why PBR Makes This More Than "Just an Image"
Modern games don't render a texture as a flat picture, they use Physically Based Rendering (PBR), which simulates how a real surface interacts with light using a stack of coordinated maps:
- Base Color / Albedo - the raw color and pattern of the surface, with no lighting baked in
- Normal Map - fake surface bumps and grooves without adding real geometry
- Roughness Map - controls how sharp or diffuse reflections look, pixel by pixel
- Metallic Map - marks which areas behave like metal versus non-metal
- Height / Displacement Map - adds real depth for parallax or tessellation
- Ambient Occlusion (AO) - darkens crevices where light naturally gets blocked
A single material might need five or six of these maps, all perfectly aligned to each other, and all tiling seamlessly in sync. Doing this by hand for a full environment, a real game might need 50 to 200 unique materials, is genuinely one of the slowest parts of production. This is exactly where AI has made the biggest dent: the current generation of tools generates the whole coordinated map set from one text prompt, in one pass.
How AI Texture Generators Actually Work
Most AI seamless texture tools sit on top of image diffusion models but with a few key differences under the hood:
- Tileable training data. The strongest tools are trained specifically on datasets of tileable materials, not general photography, so the model already "knows" what a seamless pattern should look like.
- Edge-aware generation. Instead of generating a square and blending the border afterward, the better tools generate content that is mathematically continuous across the edges from the start, the pattern wraps correctly the first time.
- Multi-map consistency. Once the base color is generated, the tool derives the normal, roughness, and other maps from the same underlying structure, so bumps in the normal map actually correspond to visual detail in the base color.
- Image-to-material extraction. Many tools also let you upload a reference photo, a real brick wall, a fabric swatch and extract a clean, tileable PBR material from a region of it, rather than generating from scratch.
If you want to test whether a tool is doing this properly, don't trust the single-tile preview. Tile the output at least 3×3 or 4×4 and look for repeating "hot spots" a distinctive crack, knot, or stain that shows up in a visible, repeating pattern. That's the tell-tale sign of a shallow edge-blend rather than true seamless generation.
A Beginner-Friendly Workflow
You don't need to be a technical artist to start using AI for this. Here's a simple, repeatable process:
1. Describe the material, not the scene. This is the single biggest mistake beginners make. "A dramatic photo of an old stone wall at sunset" is a scene, it has lighting, mood, and a single vantage point, none of which belongs in a tileable material. Instead, describe the surface itself: material, color, wear pattern, and scale of detail. Something like "weathered grey cobblestone, top-down view, even lighting, moderate moss growth, medium detail" gives the model a much cleaner target.
2. Generate the base color first. Get the albedo/base color map looking right before worrying about anything else. This is the map you'll be staring at the most, and it's the easiest to judge just by eye.
3. Generate the full PBR set from that base. Once you're happy with the look, run it through the material's PBR map generation so the normal, roughness, and other maps are derived consistently from that same base, this keeps the surface detail coherent instead of mismatched.
4. Stress-test the tile. Drop the texture onto a plane in Blender, Unity, or Unreal and repeat it across a larger surface, not just a 2×2 preview. Walk the camera across it if you can. This is the only reliable way to catch visible seams or repeating artifacts before they end up in a shipped level.
5. Adjust resolution for its actual use. A distant background wall doesn't need an 8K texture; a hero prop the camera gets close to might. Match resolution to how much screen space the material will realistically occupy, both for visual quality and to keep your game's memory budget sane.
6. Bring it into your engine. Unity and Unreal both expect standard PBR map naming and channel packing (for example, packing roughness, metallic, and AO into separate channels of one texture to save memory). Most modern AI texture tools can export directly in engine-ready formats, so this is often just a drag-and-drop step.
Where This Fits Into a Bigger AI Art Pipeline
Seamless texture generation is really just one branch of the same prompting skill set you'd use anywhere else in AI image work, describing materials precisely, understanding how a model interprets lighting and detail, and iterating on a prompt until the output matches what's in your head. If you're already building prompts for characters or concept art, a lot of that instinct carries directly into texture work; the main shift is training yourself to think in terms of surfaces rather than scenes.
To Summarize
AI hasn't replaced texture artists but it has quietly removed the most repetitive, technical part of their job. What used to take hours of manual tiling and map-painting per material can now take minutes, freeing up time for the custom, hero-quality work that actually needs a human eye. If you're just starting out, the fastest way to get good results is simple: describe surfaces, not scenes, always check your tiles at scale before trusting them, and treat the full PBR map set as one coordinated package rather than an afterthought.
Get those habits right, and AI becomes less of a shortcut and more of a genuine part of your environment art toolkit.