How to Upscale AI Images Without Losing Detail
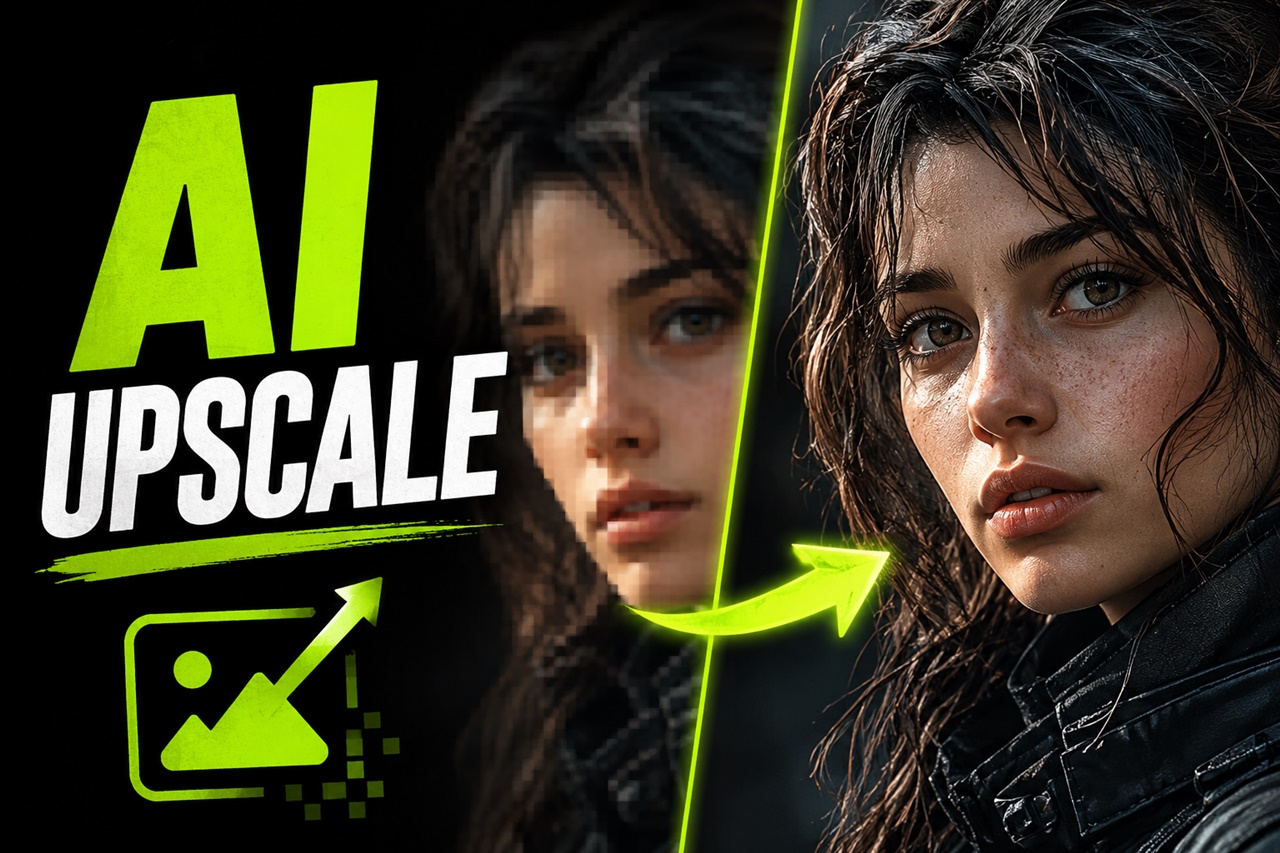
You finally nailed the prompt. The lighting is perfect, the composition is exactly what you imagined, and the character's face looks almost too good to be AI. There's just one problem, the image is 1024x1024 pixels, and you need it for a print, a wallpaper, or a portfolio piece that demands way more resolution.
So you do what feels natural: drag it into a random "image enlarger" tool or stretch it in Photoshop. Ten seconds later, your crisp AI render looks like a smudge of watercolor. The eyes go soft, the skin turns waxy, and that fine detail you loved is just... gone.
This happens because not all upscaling is created equal. Simple resizing stretches pixels; it doesn't add information. AI upscaling, done correctly, actually reconstructs and enhances detail instead of blurring it. In this guide, we'll break down why AI images lose detail when scaled up, the tools and techniques that actually preserve (or improve) quality, and a step-by-step workflow you can use.
Why AI Images Lose Detail When You Upscale Them
An AI-generated image, like any digital image, is made of a fixed grid of pixels. When you "upscale" using basic methods like bicubic or Lanczos interpolation (the default in most photo editors), the software isn't creating new detail. It's just guessing what color should go in the new, empty pixels based on the neighboring ones. The math is simple, and the results are predictable: soft edges, muddy textures, and a general loss of crispness the bigger you go.
This gets worse with AI-generated images specifically because:
- They're often generated at fixed, moderate resolutions (512x512, 1024x1024, or similar), so there's less native detail to begin with compared to a 32-megapixel camera photo.
- Fine textures like skin pores, fabric weave, or hair strands are already borderline soft straight out of the generator, so stretching them exposes that softness even more.
- Compression artifacts from JPEG exports or platform re-uploads compound the problem, since interpolation amplifies whatever noise or blockiness is already there.
The fix isn't to stretch pixels harder. It's to use a method that adds plausible new detail instead of just smoothing what's already there.
Traditional vs. AI Upscaling: What's the Difference
It's worth being clear about the two very different categories of "upscaling" you'll run into.
Traditional interpolation (bicubic, bilinear, Lanczos) is fast, built into every image editor, and completely detail-blind. It's fine for small bumps in size (say, 10–20%) but falls apart quickly beyond that. Think of it as stretching a rubber sheet, the image gets bigger, but nothing new is added.
AI-based upscaling uses trained neural networks, typically GAN-based models like ESRGAN/Real-ESRGAN, or newer diffusion-based upscalers, to predict what fine detail should look like based on patterns learned from millions of real images. Instead of guessing pixel colors mathematically, the model reconstructs edges, textures, and fine structures the way a person retouching the image might.
There are two flavors of AI upscaling worth knowing about, because they solve different problems:
- Faithful/reconstructive upscaling - sharpens and cleans up what's already there without inventing new content. Best when you want the result to still look exactly like your original image, just bigger and crisper.
- Generative/creative upscaling - adds genuinely new detail (extra skin texture, fabric weave, background elements) using a diffusion model. Best for AI art where a bit of creative reinterpretation is welcome, but riskier if you need the result to stay 100% faithful to the original composition.
Knowing which one you need before you start will save you a lot of trial and error.
The Best Tools for Upscaling AI Images (Without Wrecking Them)
Here's a practical rundown of what actually works well in 2026, organized by use case.
For AI-generated art and illustrations
- Magnific AI (now part of Freepik) - the go-to for generative upscaling. Its "creativity" slider lets you dial in how much new detail it invents, which is great for turning a soft 1K render into a genuinely print-worthy piece.
- Ultimate SD Upscale / Hires Fix (in Stable Diffusion & ComfyUI) - free, runs on your own hardware, and gives you full control since it re-renders the image in tiles using your own model and prompt.
For photorealistic images and faces
- Topaz Gigapixel AI - widely considered the gold standard for faithful upscaling, especially for portraits. Its face-recovery models specifically fix soft eyes, teeth, and skin without inventing an unrecognizable face.
Free and open-source options
- Real-ESRGAN and apps built on it, like Upscayl, run entirely on your own GPU, cost nothing, and do a genuinely solid job for general use like landscapes, product shots, textures without a subscription.
Quick web-based options
- Browser upscalers are handy for one-off, low-stakes images where you don't want to install anything, though they usually offer less control over how much new detail gets added.
A good rule of thumb: use faithful upscalers for anything with a face or fine realistic detail, and generative upscalers when you're happy to let the AI get creative with the finer texture.
Step-by-Step: Upscaling in Stable Diffusion / ComfyUI
If you're generating your AI images locally or through a platform like Automatic1111 or ComfyUI, this is the most controllable (and free) way to upscale without losing detail.
1. Generate at the highest comfortable base resolution. Don't rely entirely on upscaling to save a low-effort generation. Starting at 1024x1024 (or your model's native resolution) gives the upscaler more real detail to work with.
2. Use "Hires Fix" or a two-pass workflow. Instead of a single generation-then-stretch process, hires fix regenerates the image at a higher resolution using the same prompt and seed, adding detail rather than just enlarging pixels.
3. Pick the right upscale model. Load an ESRGAN-based model (like 4x-UltraSharp or similar) as your upscaler, rather than a plain "Latent" upscale, if you want sharper, more defined results.
4. Set denoise strength carefully. Denoise strength controls how much the AI is allowed to "reimagine" the image during the upscale pass.
- Too low (under 0.2) and you barely get any added detail and it'll look soft.
- Too high (over 0.5-0.6) and the AI starts changing the composition, sometimes drastically.
- A sweet spot of 0.3-0.45 usually adds crisp detail while keeping the image recognizable.
5. Use tiled upscaling for large images. Tools like Ultimate SD Upscale break the image into tiles and process each one individually, which keeps VRAM usage manageable and lets you push to very high resolutions (4x, 8x) without your GPU giving up.
Common Mistakes That Kill Detail During Upscaling
- Upscaling a JPEG-compressed image multiple times. Every re-save adds compression artifacts that get amplified with each upscale pass. Always upscale from the highest-quality source file you have.
- Using a generic photo upscaler on stylized or anime art. Models trained on real photographs often "realistic-ify" illustrations in a way that ruins the intended style. Match your upscaler model to your image type.
- Cranking denoise strength too high "just to be safe." This is the single most common reason people end up with a different face or a warped hand after upscaling.
- Skipping the base resolution step. Trying to jump from 512x512 straight to 4K in one pass asks the model to invent far more detail than it can convincingly produce. Scale up gradually (2x, then another 2x) for cleaner results.
- Ignoring aspect ratio and canvas changes. Some tools crop or pad your image during upscaling. Always check the final dimensions before you export.
To Summarize
Upscaling AI images without losing detail comes down to one core idea: don't stretch pixels, reconstruct them. Basic resizing will always leave you with a soft, blurry version of your original. AI-based upscalers whether that's a faithful tool like Topaz Gigapixel, a generative one like Magnific, or a free local workflow using Real-ESRGAN and hires fix actually add believable detail back into the image instead of smearing what's already there.
The best approach depends on what you're upscaling and how much creative liberty you're comfortable giving the AI. For faces and photorealistic work, lean faithful. For stylized art and illustrations, a touch of generative creativity can genuinely improve the final result. Either way, start with the best base generation you can, control your denoise strength, and always keep a backup of the original, your future self will thank you.