How To Use Photography Terms To Elevate Your AI Images
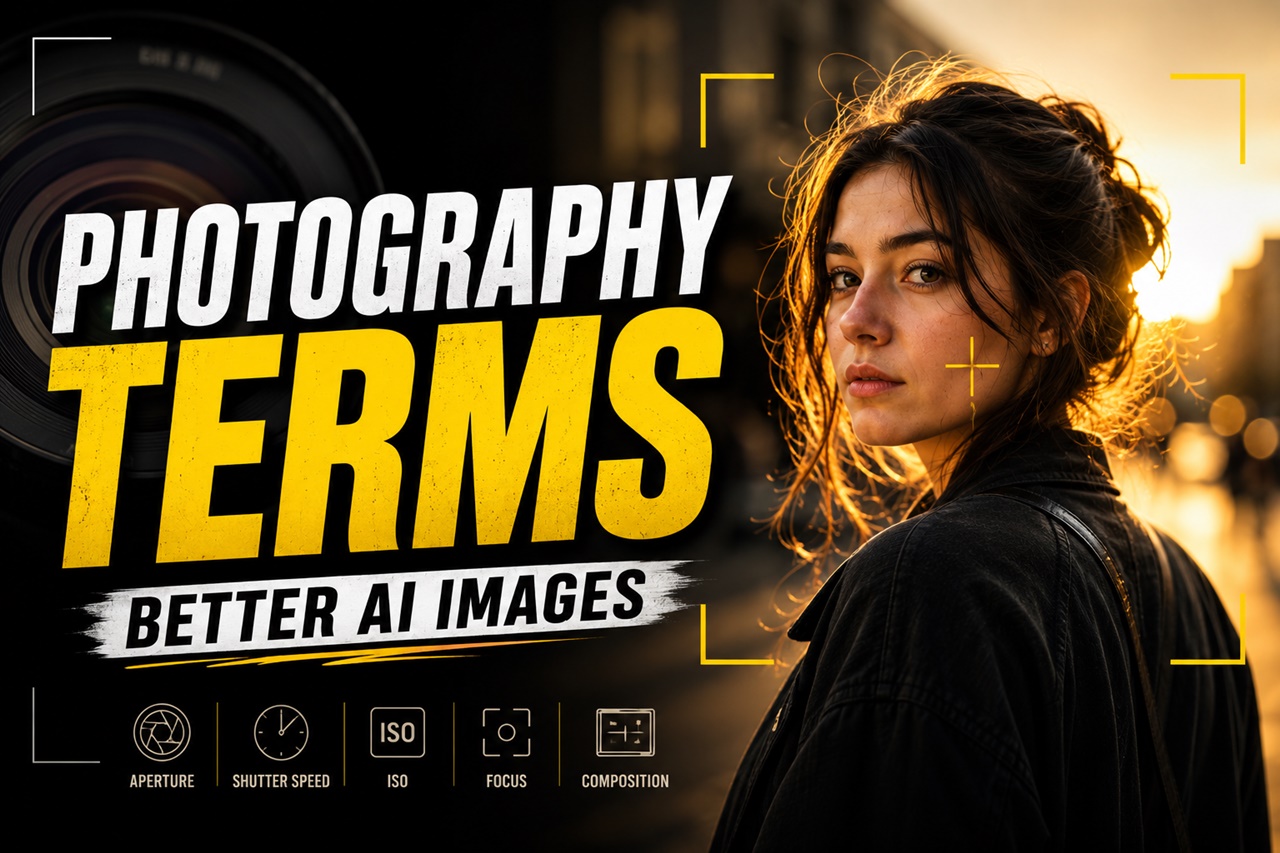
Ask ten people to describe a "nice portrait" and you'll get ten vague answers. Ask a photographer, and you'll get something like: "35mm lens, f/1.8, soft window light from camera left, shallow depth of field." One sentence, and suddenly you can see the shot before it's even taken.
That's the gap between a beginner's AI prompt and a prompt that actually looks like it came out of a studio. AI image models were trained on millions of photos and the captions, tags, and metadata attached to those photos are full of photography language. When you speak that language back to the model, you're not just describing a scene, you're giving it technical instructions it already understands deeply. In this guide, we'll break down exactly which photographer terms matter, what they do to your output, and how to start using them today.
Why Photography Vocabulary Works So Well on AI Models
Text-to-image models learn by pairing images with the text that described them online and a huge chunk of that training data comes from stock photo sites, camera forums, and photography blogs. That means terms like bokeh, golden hour, rule of thirds, and 85mm portrait lens aren't just jargon, they're strongly and consistently linked to specific visual patterns in the model's training data.
When you write "a woman smiling," the model has to guess everything: the lighting, the lens, the mood, the background. But when you write "a woman smiling, shot on an 85mm lens at f/1.4, soft golden hour backlight, shallow depth of field," you've removed almost all the guesswork. The model isn't inventing a look anymore, it's recalling one it has seen thousands of times tagged with those exact words.
This is really the whole idea behind good prompting: the more specific and technically grounded your language, the less random your output. Photography vocabulary happens to be one of the most efficient shortcuts to that specificity, because it was built over a century to describe light, depth, and framing in exact, repeatable terms.
1. The Lens: Controlling Perspective with Focal Length
The lens a photographer chooses completely changes how a scene feels. In AI prompting, specifying a focal length tells the model exactly how much of the environment to include and how the subject's proportions should look. Focal length is measured in millimeters (mm).
-
Ultra-Wide (14mm - 24mm): Best for massive landscapes, cyberpunk cityscapes, and dramatic, distorted perspectives. Wide lenses push the background away and exaggerate whatever is closest to the camera.
Prompt Example: 14mm wide angle lens, low angle shot of a neon futuristic city alleyway
-
The Storyteller (35mm): This is classic documentary and cinema focal length. It captures the subject while keeping enough of the background visible to tell a story about where they are.
Prompt Example: 35mm lens, street photography of a baker working in a sunlit kitchen
-
The Nifty Fifty (50mm): The 50mm lens closely mimics how the human eye sees the world. It provides zero distortion, making it perfect for natural, everyday scenes and standard portraits.
Prompt Example: 50mm lens, medium shot of a woman reading a book at a cafe table
-
The Portrait King (85mm - 200mm): Telephoto lenses compress the background, pulling it closer to the subject while flattening facial features in a highly flattering way. If you want a stunning portrait, this is your go-to.
Prompt Example: 85mm portrait, extreme close up of a rugged sailor, dramatic lighting
2. Aperture and Depth of Field: The Art of Blur
Have you ever wondered how professional photographers get that creamy, blurred-out background that makes the subject pop? That’s controlled by the aperture, which dictates the Depth of Field (DoF). In AI, specifying aperture values (written as f-stops) adds instant realism.
- Shallow Depth of Field (f/1.2 to f/2.8): This creates a narrow sliver of focus. The subject’s eyes might be razor-sharp while their ears and the background melt into a soft blur (known as bokeh). Use this when you want zero distractions from your main subject.
- Deep Depth of Field (f/8 to f/16): This keeps everything in focus, from the subject right in front of the lens to the mountains miles away. It is essential for landscape photography, architectural shots, and complex scenes where every detail matters.
Key insight: Using terms like "shallow depth of field" alongside a low f-stop (like "f/1.8") in your prompt can instantly transform a basic character render into a cinematic headshot.
3. Shot Types: Telling the AI Where the "Camera" Stands
Photographers also have precise language for framing distance, and this vocabulary translates almost one-to-one into prompts:
- Close-up / headshot: face fills the frame
- Medium shot / half-body shot: waist up
- Full-body shot: entire subject, head to feet
- Wide shot / establishing shot: subject small within a larger environment
- Low-angle shot: camera looking up at the subject, makes them look powerful
- High-angle shot: camera looking down, can make a subject look smaller or more vulnerable
- Bird's-eye view: directly overhead
These terms solve one of the most common beginner frustrations: getting a random crop when you actually wanted a full-body shot, or vice versa. Just naming the shot type removes the guesswork entirely.
4. Angles and Framing: Directing the Viewer's Eye
Where you place the virtual camera matters just as much as the lens. Camera angles dictate power dynamics and visual flow.
- Low Angle / Worm's Eye View: Looking up at the subject. This makes characters look imposing, heroic, or terrifying, and makes buildings look towering.
- High Angle / Bird's Eye View: Looking down at the subject. This makes the subject look vulnerable, isolated, or small, and is great for showing the scale of a surrounding environment.
- Dutch Angle: Tilting the camera to the side so the horizon line is diagonal. This immediately creates a sense of unease, chaos, or frantic action.
Pair these angles with specific framing sizes: Extreme Close-Up (just the eyes), Medium Shot (waist up), or Full Body / Wide Shot to dictate exactly what the AI should crop out.
5. Composition Terms That Guide the AI's Eye
Composition language tells the model where to place things in the frame, not just how to light them. Most people never think to specify this, which is exactly why it makes such a big difference.
Useful composition terms:
- Rule of thirds: subject placed off-center along an imaginary grid, generally feels more natural than dead-center framing.
- Leading lines: roads, fences, or shadows that draw the eye toward the subject.
- Negative space: large areas of empty background, often used for a minimal or editorial look.
- Symmetrical composition: subject centered with mirrored elements on both sides, great for architecture or formal portraits.
- Foreground framing: using an object in the foreground (branches, doorways) to frame the subject.
Adding a phrase like "rule of thirds composition, negative space on the left" gives the model a clear layout to follow, instead of defaulting to a generic centered subject, which is what happens in most beginner prompts.
6. Lighting: Painting with Photons
Photography literally means "drawing with light." If your prompt doesn't specify lighting, the AI will guess and it usually guesses something boring and flat. Taking control of the lighting changes the entire emotional weight of the image.
Natural Light:
- Golden Hour: The time just after sunrise or just before sunset. It bathes everything in a warm, soft, directional, and highly cinematic orange glow.
- Blue Hour: The brief window of twilight before the sun rises or after it sets. It produces cool, moody, blue-tinted shadows perfect for mysterious or melancholic scenes.
- Overcast / Diffused Light: Soft, even lighting with no harsh shadows. Excellent for flattering portraits and ethereal concepts.
- Chiaroscuro: strong contrast between light and dark, borrowed from classical painting. Great for moody, cinematic images.
Studio / Artificial Light:
- Rembrandt Lighting: A classic portrait technique where one side of the face is lit, leaving a small, dramatic triangle of light on the shadowed cheek. Highly dramatic and professional.
- Volumetric Lighting (God Rays): Think of sunlight piercing through a dusty window or smoke in a dark forest. It gives the air itself a physical presence.
- Rim Lighting / Backlighting: Placing a strong light directly behind the subject, creating a glowing halo around their edges and separating them from the background.
7. Film Stock and Hardware: The Secret Sauce
For the ultimate layer of photorealism, you can prompt the AI with the names of specific cameras, film stocks, or rendering engines. AI models have ingested millions of images tagged with this metadata, and they "know" the visual signatures of different hardware.
- For Vintage/Analog Warmth: Prompt with “shot on Kodak Portra 400, Fujifilm Superia”, or “Polaroid”. This introduces natural film grain, slightly muted greens, and beautiful vintage contrast.
- For High-End Cinematic Polish: Prompt with “shot on ARRI Alexa 65, RED Epic Dragon”, or “IMAX 70mm”.
- For Gritty Photojournalism: Prompt with “shot on Leica M6, 35mm film, Ilford HP5” to get that timeless, grainy black-and-white documentary look.
Putting It All Together: A Before-and-After Example
To see how powerful this is, let's compare two prompts.
The Amateur Prompt:
"A cool looking cyberpunk detective standing in the rain at night, very detailed, 8k, masterpiece."
The Professional Prompt:
"Medium shot of a cyberpunk detective standing in a rain-soaked alleyway, neon city reflections. 85mm lens, f/1.8, shallow depth of field, beautiful bokeh. Lit by rim lighting and blue hour ambient light. Shot on ARRI Alexa 65, cinematic color grading, photorealistic."
The second prompt gives the AI specific technical guardrails, resulting in an image that looks like a still from a multimillion-dollar movie rather than a video game asset.
Common Mistakes to Avoid
A few things to watch out for as you start using this vocabulary:
- Don't stack contradictory lighting terms (e.g., "harsh midday sun" and "soft golden hour light" together), the model will try to blend them into something muddled.
- Don't overload one prompt with every term you know. Pick 2-3 lighting words, one lens/aperture combo, and one composition term. More isn't always better.
- Match the vocabulary to the subject. "Macro shot" makes sense for a flower or product, not for a full-body fashion shot.
- Learn the terms, don't just memorize combos. Once you understand what f/1.8 or "rim light" actually does, you can mix and match confidently instead of copying formulas.
To Summarize
Professional photographers don't have magic instead they have precise vocabulary for light, depth, and framing that took decades to develop, and that vocabulary happens to line up almost perfectly with how AI image models were trained. You don't need a camera or a photography degree to use it. Start by adding just one lens/aperture detail and one lighting term to your next prompt, and you'll immediately notice a sharper, more intentional result. Once that becomes second nature, layer in composition and color language, and you'll be prompting less like someone guessing and more like someone directing a shoot.