How to Prompt for Realistic Skin Texture & Human Anatomy
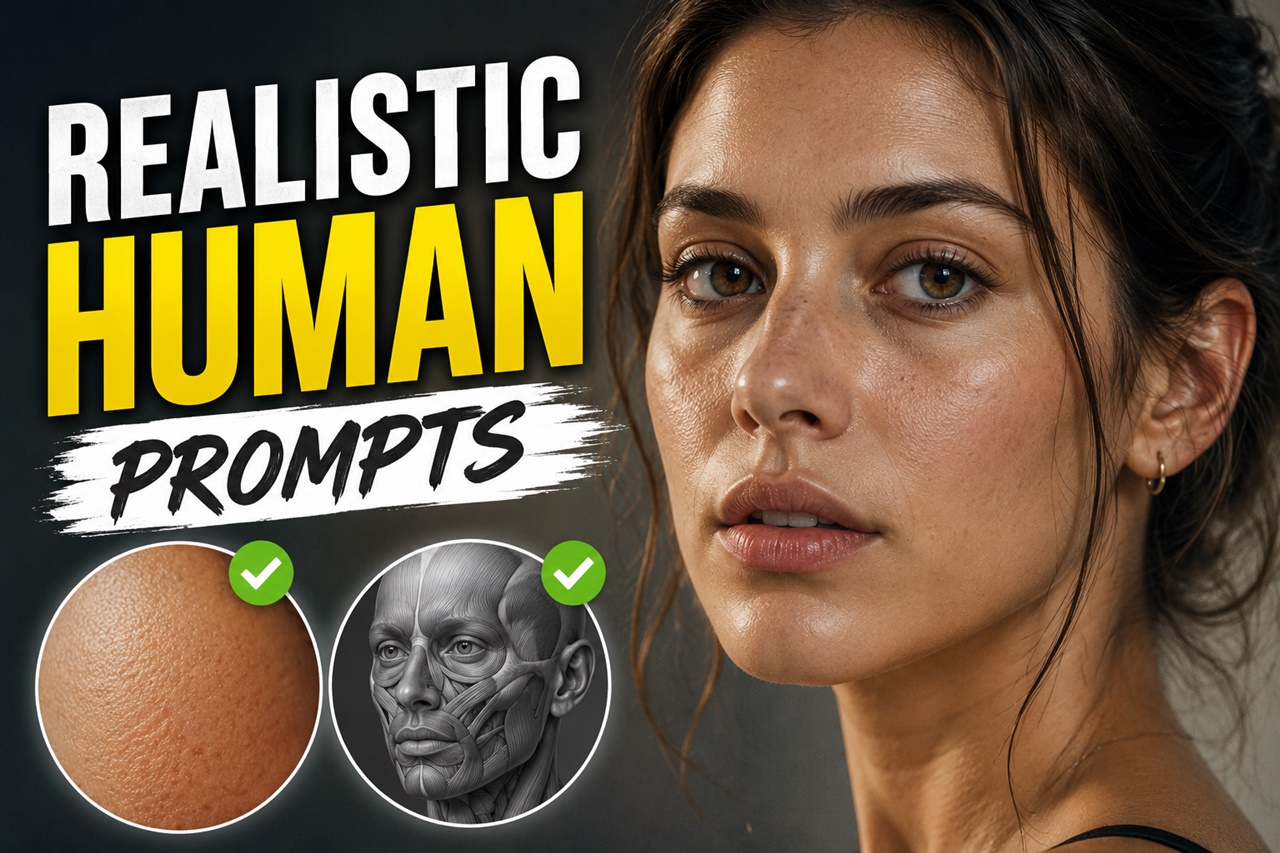
You've probably been there. You write a prompt like "beautiful woman, portrait, realistic," hit generate, and out comes a face that looks like it was carved from wax. Smooth, poreless, waxy skin. Maybe a hand with six fingers, or an elbow that bends the wrong way. It's frustrating, especially when you know the model is capable of photorealism, because you've seen other people's generations that look like actual photographs.
The good news? Realistic skin and anatomy aren't luck. They're a language. Once you understand the vocabulary AI models associate with "real human" versus "digital art," you can steer almost any generation toward believable, textured, anatomically sound results. This guide breaks that language down piece by piece, no technical background needed.
Why AI Images Often Look "Too Perfect"
Most base text-to-image models are trained on a huge mix of photography, digital art, CGI renders, and beauty retouching. When your prompt is vague ("realistic," "high quality," "portrait"), the model defaults to the safest average of everything it has seen which usually skews toward smooth, airbrushed, magazine-cover skin. It's not that the model can't do texture. It's that you haven't asked for it specifically enough.
Anatomy errors happen for a different reason. Hands, teeth, and overlapping limbs are some of the hardest things for diffusion models to get right because they involve small, high-detail, highly variable structures. The model is essentially guessing at fine anatomy from a compressed understanding of "hand-shaped blob." Your prompt can reduce these errors, but composition and generation settings matter too which we'll touch on later.
The Core Principle: Texture Lives in Imperfection
If you remember one rule from this entire article, make it this one: real skin is never uniform. Photography looks real because of pores, fine hairs, slight redness, oil sheen, freckles, faint veins, and asymmetry. The moment you describe imperfection with intention, the model shifts away from its "digital art" default and toward its "photograph" default.
So instead of writing:
"realistic skin"
Try writing:
"visible skin pores, subtle skin imperfections, natural oil sheen on forehead and nose, faint under-eye texture, subsurface scattering"
The second version gives the model actual texture data to render, not just a vibe.
Building Blocks of a Realistic Skin Prompt
Think of your skin description as layers you stack together. You don't need all of them every time, but mixing 3-5 from different categories usually produces the best result.
1. Micro-texture keywords These describe the surface itself:
- visible pores
- fine skin texture
- peach fuzz / vellus hair
- slight skin roughness
- natural skin grain
2. Light interaction keywords Real skin isn't matte, it reflects and scatters light in a specific way:
- subsurface scattering
- soft specular highlights
- natural oil sheen
- realistic skin sheen on T-zone
3. Imperfection keywords These break the "airbrushed" pattern:
- freckles
- faint acne scars
- under-eye texture
- slight redness on cheeks
- asymmetrical features
- faint blemishes
4. Photographic/technical keywords These push the model toward camera-like rendering rather than illustration:
- shallow depth of field
- natural window light
- unretouched photo
- raw photo, film grain
- shot on 85mm lens
A sample combined phrase might look like:
"close-up portrait, visible skin pores, subsurface scattering, natural oil sheen on nose and forehead, faint freckles, soft window light, shot on 85mm lens, shallow depth of field, unretouched"
Notice how specific and layered this is compared to just "realistic skin." That specificity is exactly what our Prompt Builder tool is designed for, you can click through categorized skin, lighting, and lens phrases and watch your prompt assemble itself instead of memorizing keyword lists.
Getting Human Anatomy Right
Skin texture solves surface realism. Anatomy solves structure realism and this is where most beginners get frustrated with mangled hands or impossible poses.
Be specific about pose and framing
Vague prompts like "person standing" give the model too much freedom to improvise anatomy. Instead, describe the pose clearly:
"standing in three-quarter pose, both hands resting on hips, weight on one leg"
The more concretely you describe limb positions, the less the model has to "guess," which reduces errors like extra fingers or twisted joints.
Avoid extreme hand-heavy compositions early on
Close-up shots of hands, especially interlaced fingers or hands holding small objects, are the hardest thing for most models. If anatomy keeps breaking, try:
- Framing hands partially out of shot or slightly blurred in the background
- Using simpler hand poses (one hand visible, relaxed, not gripping anything complex)
- Cropping tighter to the face/torso if hands aren't essential to the shot
These won't guarantee perfection, but they nudge the model's attention toward anatomical correctness rather than stylized exaggeration.
Lighting and Camera Language That Sells Realism
Even perfect skin texture can look fake under flat, even, "studio-clean" lighting because that's exactly the kind of lighting 3D renders and beauty retouching use. Real photography usually has some imperfection in its lighting too:
- natural window light / golden hour light
- soft directional shadows
- slight lens distortion
- shallow depth of field, background bokeh
- shot on film, subtle grain
Pairing skin-texture keywords with photographic lighting keywords is often what pushes an image from "good AI art" into "could pass as a real photo."
Common Mistakes Beginners Make
- Only using "realistic" or "4k, 8k, ultra detailed." These resolution-boosting tags don't actually add texture they just sharpen whatever the model was already going to generate, plastic skin and all.
- Overloading the prompt with contradictory styles. Mixing "hyperrealistic photo" with "anime-style" or "digital painting" confuses the model and often produces a strange hybrid look.
- Not iterating. Even a well-built prompt sometimes needs 3-4 regenerations. Realistic skin and anatomy are probabilistic, not guaranteed on the first try.
Beginner-Friendly Prompt Formulas
Let's put it all together into a simple formula you can use in the PromptDexter Prompt Builder.
The Formula: [Subject] + [Clothing/Environment] + [Pose/Action] + [Skin Texture Details] + [Lighting] + [Camera Details]
Example 1: The Gritty Portrait
Prompt: A close-up portrait of a 40-year-old lumberjack, wearing a red flannel shirt, looking directly at the camera. Natural uneven skin tone, deep pores, subtle wrinkles around the eyes, rough beard. Harsh dramatic side lighting, shadows. Shot on DSLR, 85mm lens, hyper-realistic, highly detailed photograph.
Example 2: The Casual Lifestyle Vibe
Prompt: A mid-shot of a 25-year-old woman smiling, wearing a casual denim jacket, holding a paper coffee cup with both hands. Soft natural sunlight, slight oily shine on skin, visible peach fuzz, subtle freckles on nose. Candid street photography, blurred background, 35mm lens, photorealistic.
To Summarize
Realistic skin and human anatomy in AI art come down to specificity, not luck. Creating lifelike humans with AI doesn't have to be a frustrating game of trial and error. By steering clear of overly technical setups and focusing on simple, descriptive keywords about texture, lighting, and specific poses, you can easily guide the AI to produce stunning, realistic results. Remember that real humans aren't flawless instead they have pores, freckles, and varied skin tones. Embrace those imperfections in your prompts!